Description
★☆— Custom Stamp —☆★
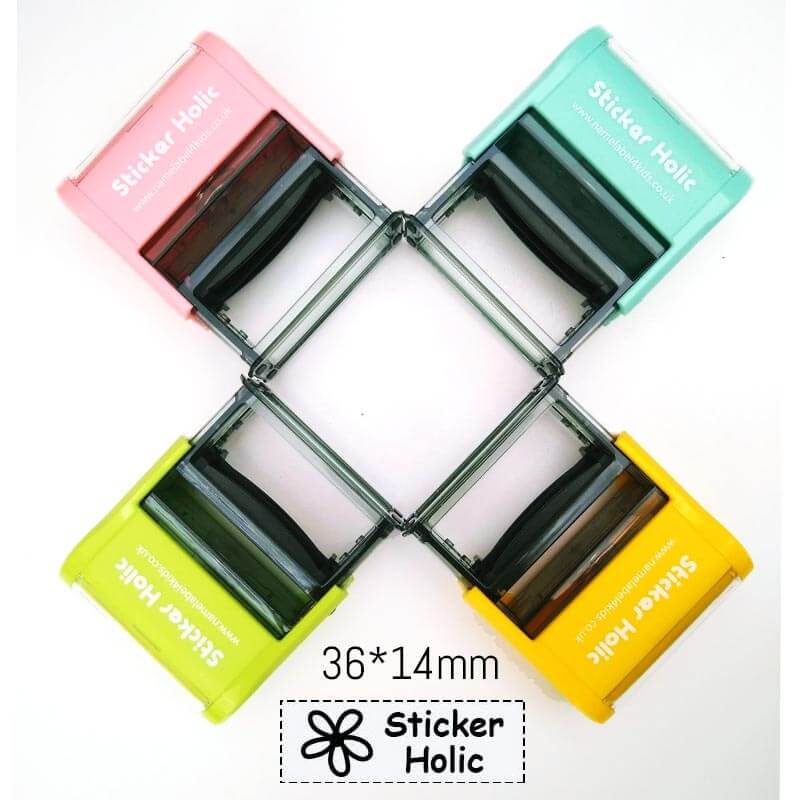
No more sewing! No more ironing!
Personalised kids name stamp for school!!
The fastest way to label your belongings. Simply stamp, stamp, stamp!
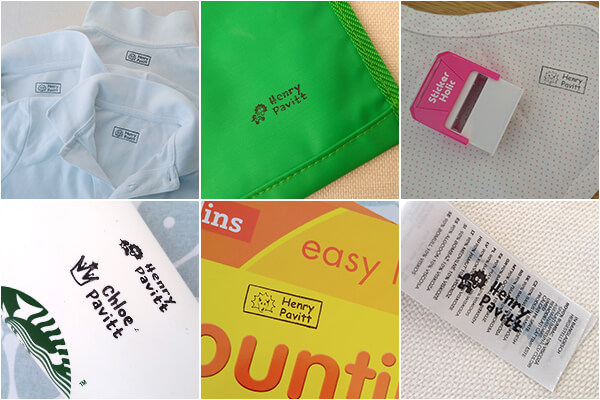
Sticker Holic Custom Name Stamp is suitable for papers, leather,
some fabrics(polo t-shirts, cotton t-shirts, PE top, underwear,
swimming costume, bookbag, PE bag, some clothes caring labels, etc) and some plastics.
This is upgraded design.
It come with BLACK INK PAD.
MAX IMPRINT SIZE: max 36*14mm
Are you looking for name labels for clothes?
We’d recommend our Clothing Name Labels.

★☆— Please note —☆★
– Wash new clothes before stamping.
– Once applied, please allow the stamp ink to dry up for at least 24 hours before washing/using the item.
– These are not suitable for thick/fluffy/rough texture and some plastic.
– Don’t use the stamp on an old clothes as the surface is worn out from uses!
– Always practise on paper first.
– The imprint will last longer if you iron on the stamping area.
Put a thin clothes like hankerchief on the material and iron for about 20 seconds.
★☆— Font Option —☆★

★☆— Icon Option —☆★
![]()
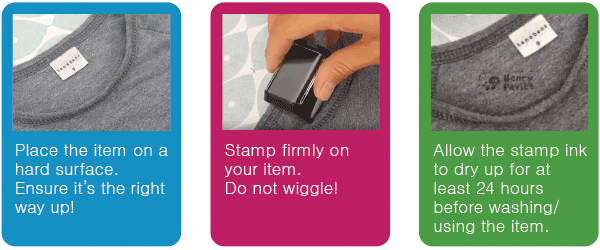
★☆— How to use name stamp —☆★
★☆— How to install the ink pad —☆★
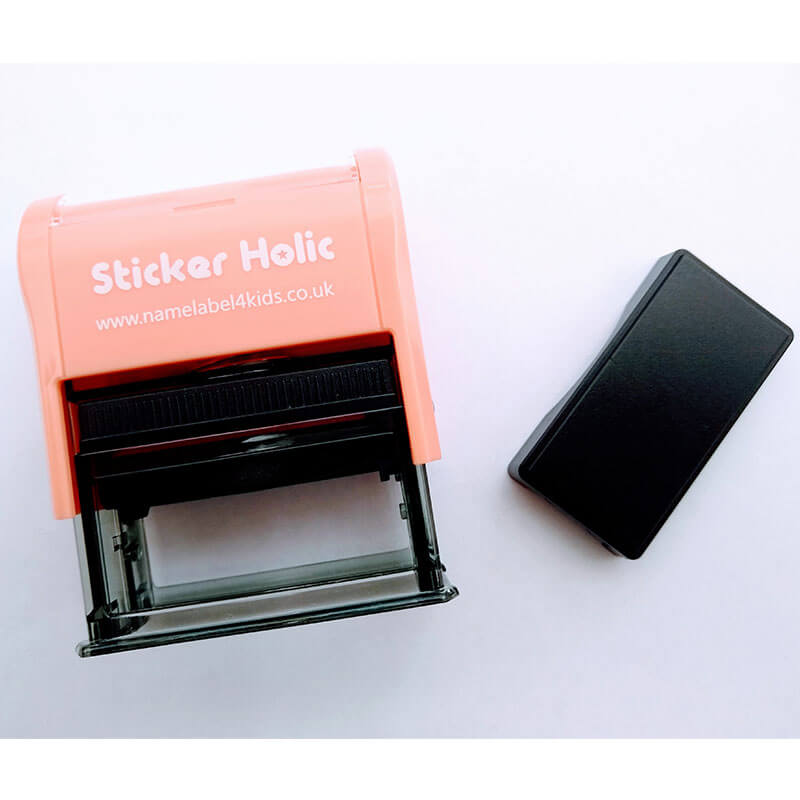
Here is the instruction how to install ink pad.
1. Put a piece of paper underneath to prevent stain the floor/table.
2. Take the ink pad out of the silver bag. (Please keep the bag to store the ink pad later)
3. The pad only goes in one way. The arrow at the bottom of the ink pad shows direction.
4. Squeeze the stamp together slightly until you hear a “click” sound.
5. Fit the ink pad into the stamp on the logo side .
6. Push it until you feel sligh click and the pad is now in place.
7. All done. Test it on the paper and enjoy stamping!
★☆— If you don’t use the stamp —☆★
Please store the stamp and ink pad in a cool/dry space to avoid contact with air.
You will be able to use them for longer.
Here is the guide how to store the ink pad.
1. The pad only removes one way.
2. Squeeze the stamp together slightly until you hear a “click” sound, and push the ink pad from the side without logo.
3. Carefully push and remove the ink pad cover with the lid.
4. Keep the ink pad in the silver bag provided. (Make sure to seal the bag properly!)
5. Next use, refit the ink pad.
6. Enjoy stamping again!






Helen W –
Easy to use and great seller, thank you
Sign in with Apple User –
Great item thank you very much